

Table of contents
- Creating a Superuser
- Registration Form
- Creating a View for Our Registration Form
- Adding URL Path for Our Registration Form
- Template for User Registration Form
- django-email-verification
- Gmail App Password
- Update views.py File
- Update settings.py File
- Templates for Emails and Verification.
- Creating a New User
- References
Creating a Superuser
After creating our Django project and an application, we could implement a form for creating users from our browser. First, we would have to create a superuser (that is, a user with admin status) on our terminal to monitor the process.
python manage.py createsuperuser
Once we have entered this command on our terminal, we would be prompted to enter our username, email, and password twice.
If you have created an application in your Django project, you would have the project tree to be something like this:
C:.
└───mysite
    │   db.sqlite3
    │   manage.py
    │
    ├───blog
    │   │   admin.py
    │   │   apps.py
    │   │   models.py
    │   │   tests.py
    │   │   views.py
    │   │   __init__.py
    │   │
    │   └───migrations
    │           __init__.py
    │
    └───mysite
        │   asgi.py
        │   settings.py
        │   urls.py
        │   wsgi.py
        │   __init__.py
        │
        └───__pycache__
                settings.cpython-310.pyc
                urls.cpython-310.pyc
                wsgi.cpython-310.pyc
                __init__.cpython-310.pyc
Registration Form
From the above project tree, mysite is the project folder, while blog is the application folder. We would have a forms.py file in our application folder which would contain the form which we would use for registering users. The forms.py would look like this:
from django import forms
from django.contrib.auth.forms import UserCreationForm
from django.contrib.auth.models import User


class UserRegistrationForm(UserCreationForm):
    email = forms.EmailField()

    class Meta:
        model = User
        fields = ['username', 'email', 'password1', 'password2']
UserCreationForm is a ModelForm in Django which has three fields; username, password1, and password2. We have two password fields so that we can confirm the password. In the code above, UserRegistrationForm inherits the UserCreationForm class to add an email field to the registration form we hope to create. In UserCreationForm, the username field is the unique field (that is, we are prevented from having two users with the same username).
If we want to change the unique field to the email field (that is, an email can be used to create only one account), we would make use of the USERNAME_FIELD as shown below:
...
class UserRegistrationForm(UserCreationForm):
    email = forms.EmailField()
...
    USERNAME_FIELD = 'email'
Note that the UserCreationForm allows only one unique field; therefore to create make two fields unique, we would have to customize it.
Creating a View for Our Registration Form
In our blog/views.py file, we would create a view for our users' registration page as shown below.
from django.shortcuts import render
from .forms import UserRegistrationForm
from django.http import HttpResponseRedirect
from django.urls import reverse

def register_user(request):
    form = UserRegistrationForm()

    if request.method == 'POST':
        form = UserRegistrationForm(request.POST)

        if form.is_valid():
            form.save()

            return HttpResponseRedirect(reverse('login'))

    return render(request, 'registration/register.html', {'form':form})
In our register_user view, we bind the user data to the form (UserRegistrationForm(request.POST) and check if the user's data is valid (form.is_valid()). If the form is valid, we would save it in the database and redirect to our login page (I am assuming we already have a login page whose name is login for the user to login to their newly created account). If the data inputted into the form is not valid, we return the form with the user's data.
Adding URL Path for Our Registration Form
In our blog/urls.py file, we would add the path to the form as such:
from django.urls import path
from blog import views


urlpatterns = [
    ...
    path('register/', views.register_user, name='register'),
]
Template for User Registration Form
In our blog folder, we would create a folder called templates, and inside it, we would create another folder called registration and inside it, we would have an html file (register.html) (that is, blog/templates/registration/register.html). We would have the registration page rendered as such:
<!DOCTYPE html>
<html lang="en">
    <head>
        <meta charset="UTF-8">
        <meta name="viewport" content="width=device-width, initial-scale=1.0">

        {% block title %}
        <title>My Blog</title>
        {% endblock %}

    </head>
    <body>
        {% block content %}
            {% if form.errors %}
                {% for field, error in form.errors.items %}
                    <li style="color: red;">{{ error }}</li>
                {% endfor %}
            {% endif %}

            <form method="post" action="">
                {% csrf_token %}
                <table>
                    <tr>
                        <td>{{ form.username.label }}:</td>
                        <td>{{ form.username }}</td>
                    </tr>
                    <tr>
                        <td>{{ form.email.label }}:</td>
                        <td>{{ form.email }}</td>
                    </tr>
                    <tr>
                        <td>{{ form.password1.label }}:</td>
                        <td>{{ form.password1 }}</td>
                    </tr>
                    <tr>
                        <td>{{ form.password2.label }}:</td>
                        <td>{{ form.password2 }}</td>
                    </tr>
                </table>

                <input type="submit" value="Register">
            </form>
        {% endblock %}
        </body>
</html>
{% if form.errors %} check if there is any error in the user's data and return the page containing details of the error. {% csrf_token %} is used to prevent cross-site request forgery; we use it when we are dealing with forms that post data to our database.
When we enter python manage.py runserver command on our terminal, and we visit 127.0.0.1:8000/blog/register, our form would look like this:
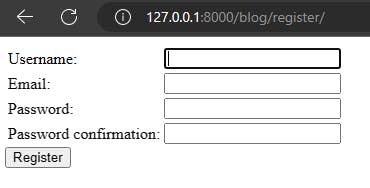
At this point, we can create users using the form, but the user would not get an email to verify the newly created account.
django-email-verification
Next, we would be making use of a package, django-email-verification, to handle the sending of emails after new signs up. To download the package, we would run the command below on our terminal:
pip install django-email-verification
After installation, we would add a URL path for our email verification in mysite/urls.py file.
from django.contrib import admin
from django.urls import path, include
from django_email_verification import urls as email_urls

urlpatterns = [
    path('admin/', admin.site.urls),
    path('blog/', include('blog.urls')),
    path('email/', include(email_urls), name='email-verification'),
]
Gmail App Password
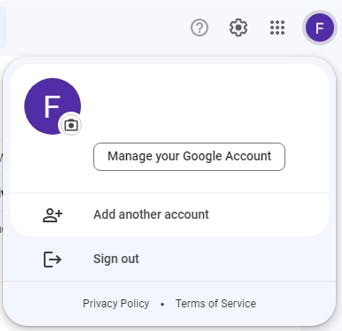
Next, we would create an app password for a Gmail account which we would use for sending the verification token. Log in to your Gmail account. Click on your picture at the side of the window and click on Manage your Google Account.
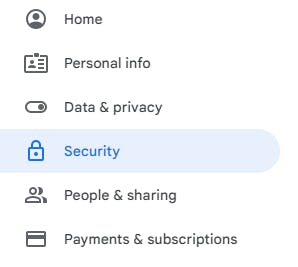
Next, click on Security on the sidebar.
You would have to ensure that 2-Step Verification is enabled on your Gmail account. Click on App passwords.

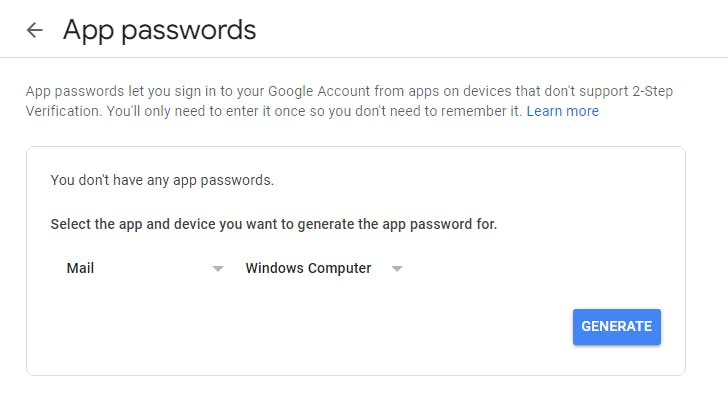
Next, you would be required to select the app and device you want the app password for. After selecting them, click on GENERATE. You would be required to store the password somewhere safe because you would not be able to access the password again.
Update views.py File
We would update our register_user view to ensure that users are not made active users until they have clicked on the link to the token in the email sent to them.
from django.shortcuts import render
from .forms import UserRegistrationForm
from django.http import HttpResponseRedirect
from django.urls import reverse
from django.contrib.auth.models import User
from django_email_verification import send_email


def register_user(request):
    form = UserRegistrationForm()

    if request.method == 'POST':
        form = UserRegistrationForm(request.POST)

        if form.is_valid():
            form.save(commit=False)
            user_email = form.cleaned_data['email']
            user_username = form.cleaned_data['username']
            user_password = form.cleaned_data['password1']

            # Create new user
            user = User.objects.create_user(username=user_username, email=user_email, password=user_password)

            # Make user unactive until they click link to token in email
            user.is_active = False
            send_email(user)

            return HttpResponseRedirect(reverse('login'))

    return render(request, 'registration/register.html', {'form':form})
form.save(commit=False) allows us to make changes to the user's data. In this case, we want to ensure that the user is made to be a non-active user (user.is_active = False) until the user clicks on the link sent in the email. We create the user (user = User.objects.create_user(username=user_username, email=user_email, password=user_password)), set the user to non-active, and send a mail containing the link to the token (send_email(user))
Update settings.py File
django_email_verification is added to INSTALLED_APPS and other needed settings are added to the bottom of our settings.py file.
...
INSTALLED_APPS = [
    ...
    'django_email_verification',
]
...

def verified_callback(user):
    user.is_active = True


EMAIL_VERIFIED_CALLBACK = verified_callback
EMAIL_FROM_ADDRESS = 'example1000@gmail.com'
EMAIL_MAIL_SUBJECT = 'Confirm your email {{ user.username }}'
EMAIL_MAIL_HTML = 'registration/mail_body.html'
EMAIL_MAIL_PLAIN = 'registration/mail_body.txt'
EMAIL_MAIL_TOKEN_LIFE = 60 * 60
EMAIL_MAIL_PAGE_TEMPLATE = 'registration/confirm_template.html'
EMAIL_PAGE_DOMAIN = 'http://127.0.0.1:8000/' # Host
# EMAIL_MULTI_USER = True  # optional (defaults to False)

# For Django Email Backend
EMAIL_BACKEND = 'django.core.mail.backends.smtp.EmailBackend'
EMAIL_HOST = 'smtp.gmail.com'
EMAIL_PORT = 587
EMAIL_HOST_USER = 'example1000@gmail.com'
EMAIL_HOST_PASSWORD = 'yourGmailAppPassword'
EMAIL_USE_TLS = True
DEFAULT_FROM_EMAIL = 'example1000@gmail.com'
SERVER_EMAIL = 'example1000@gmail.com'
EMAIL_VERIFIED_CALLBACK = verified_callback calls the function verified_callback which makes a user an active user when they click on the link in the email sent. EMAIL_FROM_ADDRESS, EMAIL_HOST_USER, DEFAULT_FROM_EMAIL, SERVER_EMAIL will contain your email address. EMAIL_HOST_PASSWORD will contain your Gmail app password. EMAIL_PAGE_DOMAIN will contain the name of your domain. We have used http://127.0.0.1:8000/ because we are currently working on our local PC. EMAIL_MAIL_HTML and EMAIL_MAIL_PLAIN are the files containing the messages that would be in the email. EMAIL_MAIL_PAGE_TEMPLATE is the template that would be rendered when the user has clicked on the link sent via email. EMAIL_MAIL_TOKEN_LIFE is how long the token would last after it has been generated. In the code above, it is 60 * 60 which is 3600 seconds (1 hour). EMAIL_MAIL_SUBJECT would contain the subject of the email. If EMAIL_MULTI_USER is set to True, an email can be used for multiple accounts/users.
It is advisable to use environment variables to save important details, such as your email and app password.
Templates for Emails and Verification.
In our registration folder, we would create the template (registration/mail_body.html) that would contain the content of the email we would be sending.
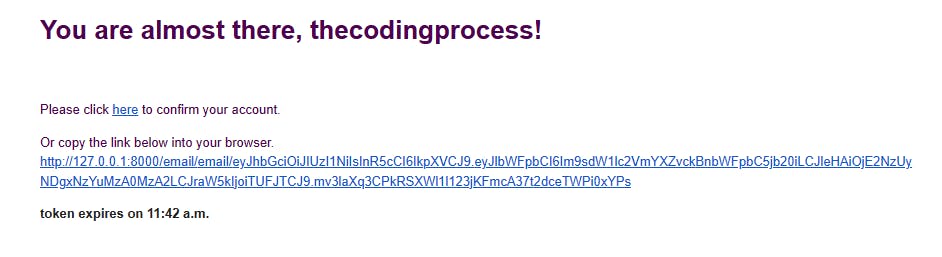
<h1>You are almost there, {{ user.username }}!</h1><br>

<p>
    Please click <a href="{{ link }}">here</a> to confirm your account.
</p>
<p>
    Or copy the link below into your browser. <br>
    {{ link }}
</p>

<strong>Token expires on {{ expiry|time:"TIME_FORMAT" }}</strong>
We would also create a text file (registration/mail_body.txt) containing similar content as mail_body.html.
You are almost there, {{ user.username }}!
Please click the following link to confirm your account: {{ link }}
The token expires on {{ expiry|time:"TIME_FORMAT" }}
Next, we would create the template (registration/comfirm_template.html) the user will see when they have clicked on the link in the email.
{% block title %}
    <title>Email comfirmation</title>
{% endblock title %}

{% block content %}
    {% if success %}
        {{ user.username }}, your account is confirmed!
    {% else %}
        Error, invalid token!
    {% endif %}
{% endblock content %}
Creating a New User
After running our server, we would visit our admin page (127.0.0.1:8000/admin) and log in with the data we provided when we created the superuser.
After logging in, we would select Users.
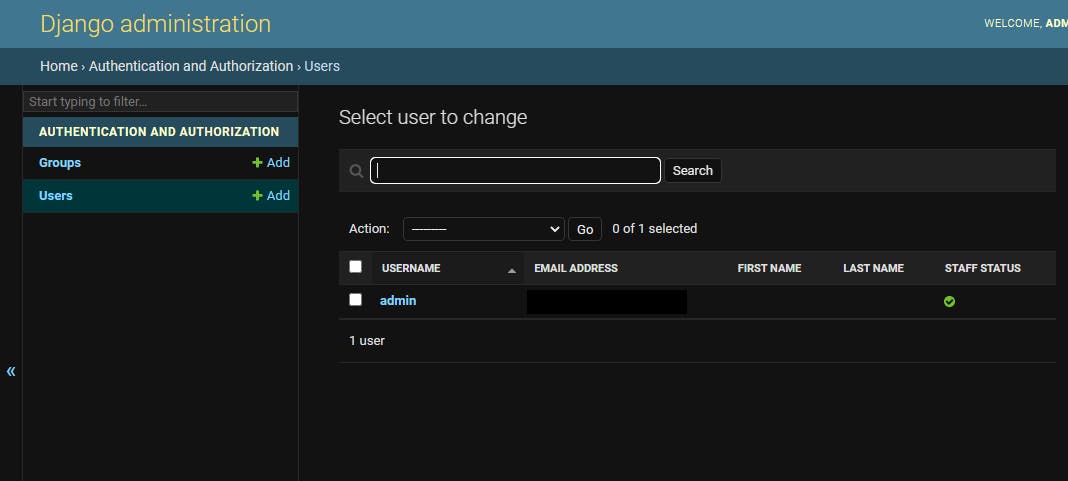
At this point, we only have only one user. So we go to our registration form and create another user.

When we reload our admin page, we would notice that we now have a new user.
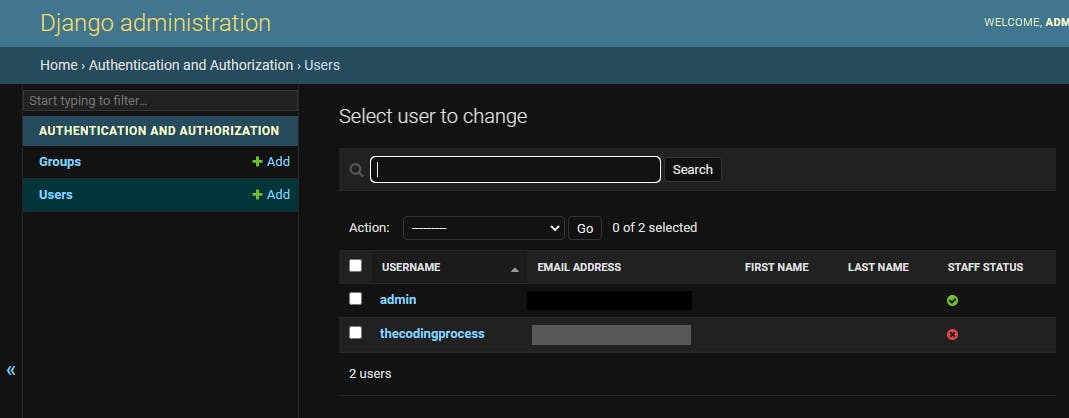
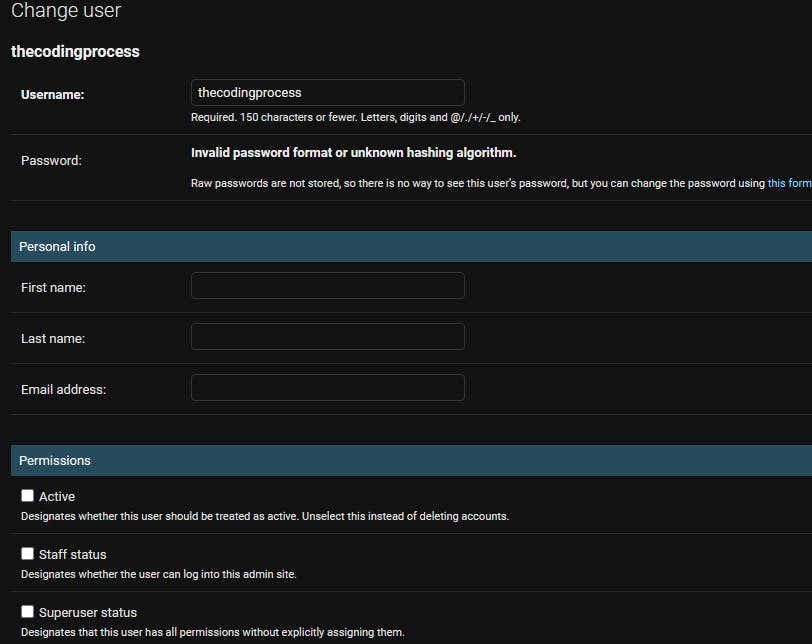
But the user is non-active (the Active checkbox is unchecked).
The new user would receive a confirmation email of this structure;
Once the user clicks on the link, the new account is confirmed.
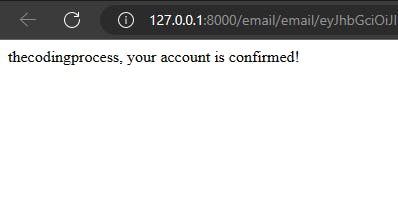
And the user is then made an active user;
