Getting Started with Django

Hello, I am Favour. I am a Python enthusiast. The Coding Process is a place where I document and consolidate what I learn on my journey towards becoming a programmer. Kindly join me. I am also a poet and non-fiction writer. You could visit https://favourolumese.medium.com to read my writings.
Thank you.
Django is one of Python's popular web frameworks which is used for backend web development and for building and consuming APIs (application programming interfaces).
To get started with the Django framework, we would have to create a virtual environment. We make use of a virtual environment to accommodate different projects on our PC that need various versions of diverse dependencies. That is, if we have three different projects on our PC which make use of three different versions of Django, they can be easily managed in three different virtual environments.
Creating a Virtual Environment
We would learn to use Python venv and virtualenvwrapper to create virtual environments on our PC.
virtualenvwrapper
Installation of virtualenvwrapper
pip install virtualenvwrapper
Creating a Virtual Environment
If we choose to name our virtual environment myvenv, we would enter the following on our terminal.
mkvirtualenv myvenv
Activating the Virtual Environment
workon myvenv
Virtual Environment Using Python Venv
Creating the Virtual Environment (On Windows)
python3 -m venv my myvenv
Activating the Virtual Environment (On Windows)
myvenv\Scripts\activate
Starting a Django Project
Installing Django
After activating the virtual environment, we would create/enter the folder we want our project to be in. If we want our project to be in a new folder called django_projects, we would enter the following;
mkdir django_projects
cd django_projects
After entering the folder, we would install Django.
pip install django
Starting a New Django Project
After downloading Django, we would start a new Django project with django-admin startproject <project name>. If we hope to name our project mysite, we would enter the following;
django-admin startproject mysite
cd mysite
We would have our project tree to be something like this.
C:.
└───mysite
    │   manage.py
    │
    └───mysite
            asgi.py
            settings.py
            urls.py
            wsgi.py
            __init__.py
In our setting.py file, we would see something like this;
SECRET_KEY = 'django-insecure-vtyuazr%6)0*0w8(^wdo3+#lmvf(as4ckf93v$*r(7df=t6wj=r'

# SECURITY WARNING: don't run with debug turned on in production!
DEBUG = True

ALLOWED_HOSTS = []
We would leave DEBUG as True for now so that we can monitor our project in the development stage, but in production mode, we would change it to False. We would set ALLOWED_HOST to be;
ALLOWED_HOSTS = ['*']
This allows any host to access our project, we could also set it to our local host (127.0.0.1).
After this, we would go to the folder containing our manage.py file on the terminal and enter the following command to migrate the database (SQLite is Django's default database).
python manage.py makemigrations
python manage.py migrate
On the terminal, you would see;
Operations to perform:
  Apply all migrations: admin, auth, contenttypes, sessions
Running migrations:
  Applying contenttypes.0001_initial... OK
  Applying auth.0001_initial... OK
  Applying admin.0001_initial... OK
  Applying admin.0002_logentry_remove_auto_add... OK
  Applying admin.0003_logentry_add_action_flag_choices... OK
  Applying contenttypes.0002_remove_content_type_name... OK
  Applying auth.0002_alter_permission_name_max_length... OK
  Applying auth.0003_alter_user_email_max_length... OK
  Applying auth.0004_alter_user_username_opts... OK
  Applying auth.0005_alter_user_last_login_null... OK
  Applying auth.0006_require_contenttypes_0002... OK
  Applying auth.0007_alter_validators_add_error_messages... OK
  Applying auth.0008_alter_user_username_max_length... OK
  Applying auth.0009_alter_user_last_name_max_length... OK
  Applying auth.0010_alter_group_name_max_length... OK
  Applying auth.0011_update_proxy_permissions... OK
  Applying auth.0012_alter_user_first_name_max_length... OK
  Applying sessions.0001_initial... OK
After this, we would run the server. Django's default port is port 8000.
python manage.py runserver
On the terminal, we would see;
Django version 4.1.5, using settings 'mysite.settings'
Starting development server at http://127.0.0.1:8000/
Quit the server with CTRL-BREAK.
When we enter http://127.0.0.1:8000/ on the browser, we would see;
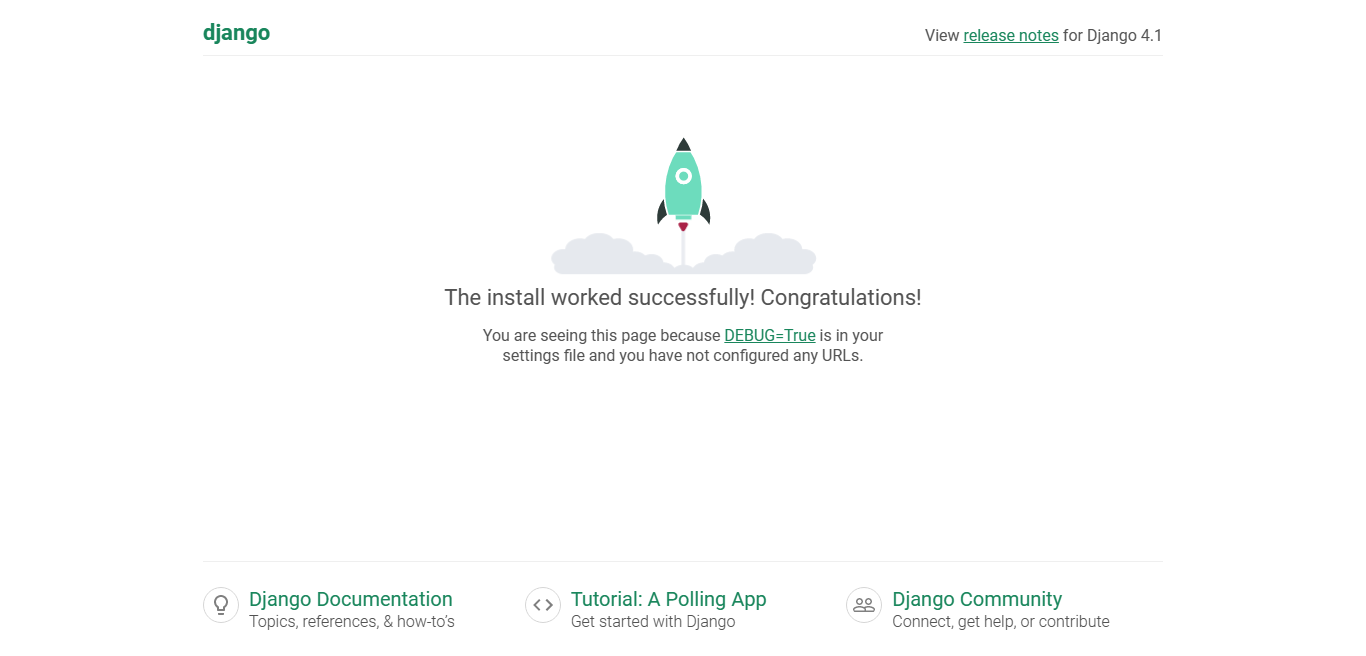
This implies that our project is all set.


