Deploying a Django Project on alwaysdata

Hello, I am Favour. I am a Python enthusiast. The Coding Process is a place where I document and consolidate what I learn on my journey towards becoming a programmer. Kindly join me. I am also a poet and non-fiction writer. You could visit https://favourolumese.medium.com to read my writings.
Thank you.
Sign Up and Log In
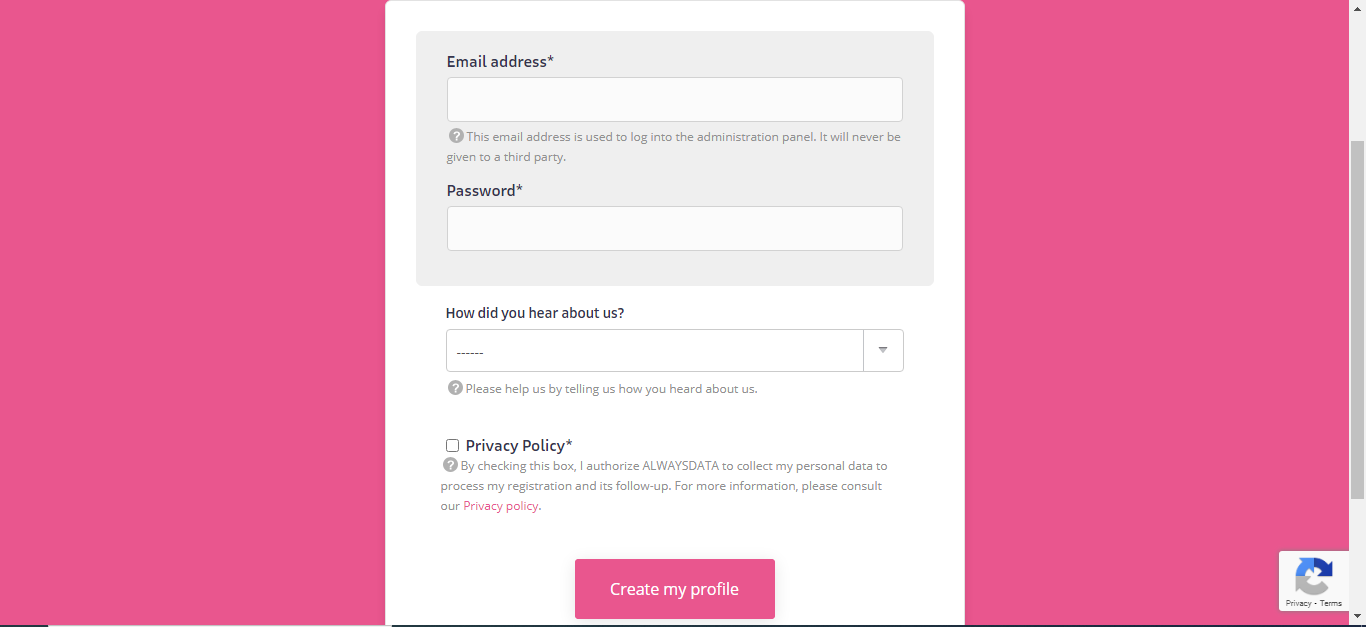
alwaysdata is a platform which allows the deployment of web apps with provisions such as free SSL (Secure Sockets Layer) support, databases, SSH (Secure Shell), FTP (File Transfer Protocol), "[u]nlimited sites and applications;" it supports Python, PHP, .NET, Node.js, etc., just to mention a few. They also offer a free tier with 100 MB of space. This article would be focused on deploying your Django application on alwaysdata. First, you would have to create an account on alwaysdata.
Secure Shell (SSH)
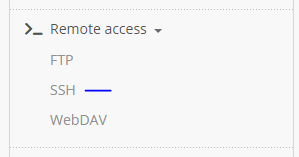
After registering on the platform, you would get a verification email. After logging in, click on SSH (we would use the secure shell to start a new project or clone an existing project from our repository) on the sidebar.
Click on "Add SSH user."

The name of the SSH user should be [name of account]_[name of ssh]. If the name of the user is david and you want the SSH to be ssh, the name would be david_ssh. Enter your password and submit.

Open your terminal. I am using Git Bash for this tutorial. Enter your details in this nature.
$ ssh [user]@ssh-[account].alwaysdata.net
user would be the SSH username, while the account would be your account name. When you click enter, you would also be asked to enter your password.
$ ssh david_ssh@ssh-[david].alwaysdata.net
Virtual Environment and Installation of Django
After getting access, you would need to create a virtual environment and install the Django framework in it. We would be using Python venv for this tutorial. If you want the virtual environment to be named davidenv, you will enter the below in the terminal.
$ python -m venv davidenv
$ source davidenv/bin/activate
$ python -m pip install Django
source davidenv/bin/activate activates the virtual environment, while python -m pip install Django installs Django in the virtual environment.
Start or Clone Django Project
If you are starting a new project, you would enter django-admin startproject [project name], if our project name is davidproject, we would have enter the below:
$ django-admin startproject davidproject
But if you have an existing project in a version control such as GitHub, you can clone the repository into the server, and also install the project dependencies.
$ git clone https://path/to/davidproject.git
$ python -m pip install -r requirements.txt
Setting Up Database
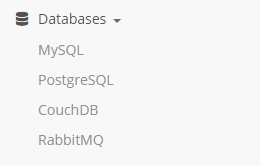
alwaysdata supports Sqlite3, MySQL, PostgreSQL, CouchDB, RabbitMQ. From the sidebar, you are to select one. If you are using Sqlite3, you won't need to bother about this section. We would be using PostgreSQL for this demonstration. Click on PostgreSQL on the sidebar.
Click on "Add database"

Next, you are to enter the name of the database and it must be [account_name]_[database_name]. Let's use david_database for the name of our database.

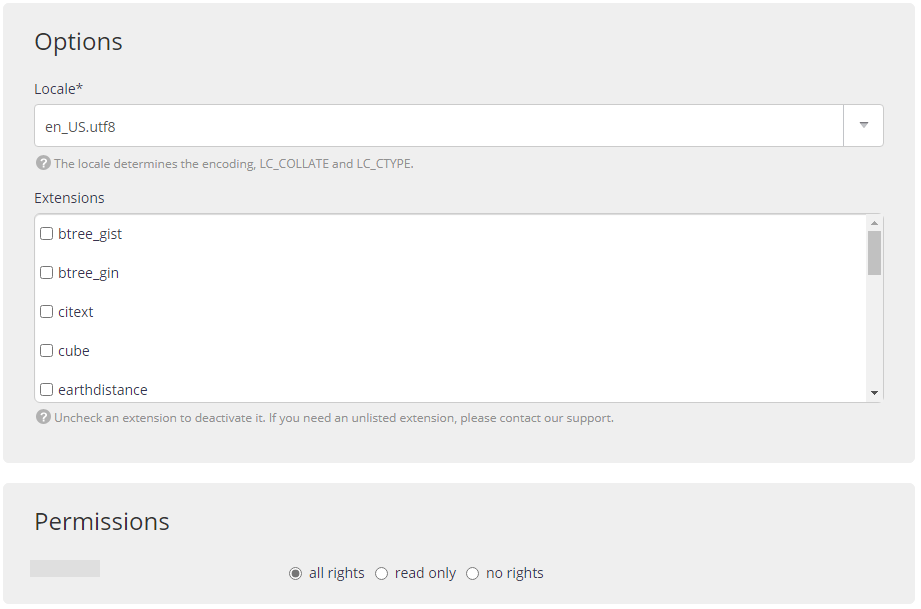
You can leave the remaining data as it is.
In the setting.py file in the project, make the following changes to hide your SECRET_KEY, change DEBUG to False, and configure your database. Here we are making use of environment variables (I would show you where to set them below).
import os
<snip>

SECRET_KEY = os.environ['DJANGO_SECRET_KEY']

ALLOWED_HOSTS = ['.alwaysdata.net', '127.0.0.1']

DEBUG = os.environ.get('DJANGO_DEBUG', '') != 'False'

DATABASES = {
    'default': {
        'ENGINE': 'django.db.backends.postgresql',
        'NAME': os.environ.get('DB_NAME'),
        'USER': os.environ.get('DB_USER'),
        'PASSWORD': os.environ.get('DB_PASS'),
        'HOST': 'postgresql-superman.alwaysdata.net',
        'PORT': '5432',
    }
}
<snip>
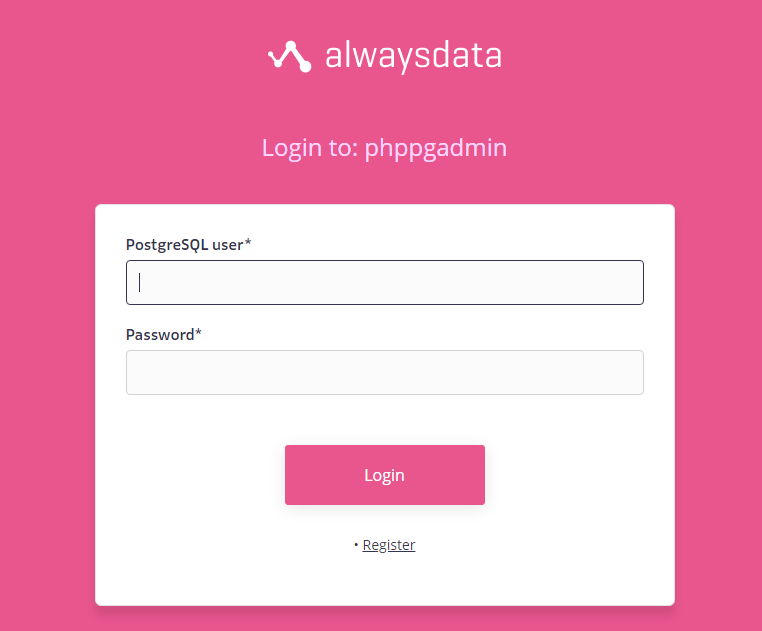
Next on PostgreSQL, click on phpPgAdmin
Log in using your username (david for this tutorial) and your account password.
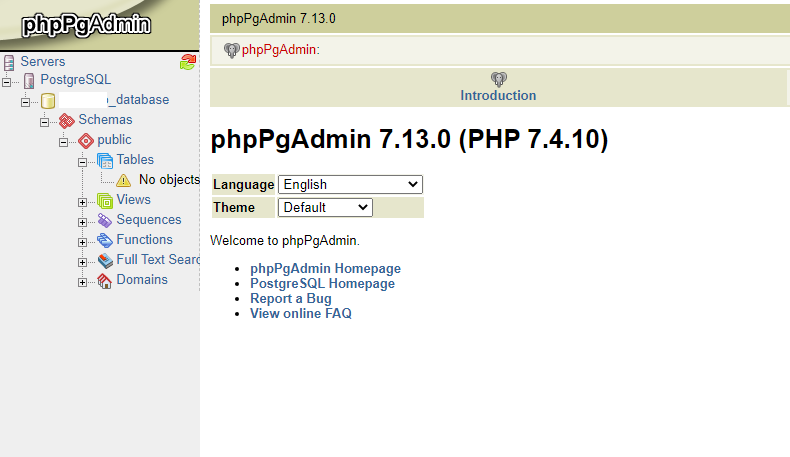
On the phpPgAdmin, you would be able to view your tables (you would get to see more details once you migrate your models).
Setting Site and Environment Variables
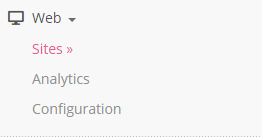
Click on Sites on the sidebar.
You would see a bar with the link david.alwaysdata.net; click on the settings icon on it.

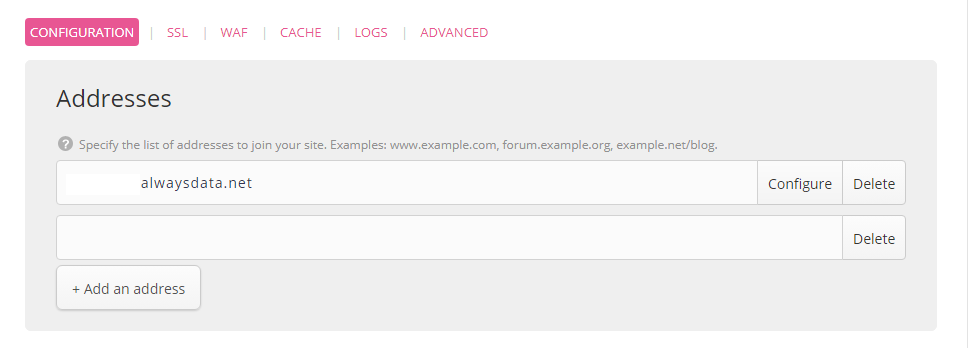
On the Addresses bar, you would see [account name]. alwaysdata.net.
Site Configuration
For the site configuration type, choose Python WGSI. We named our project davidproject, and the application path is the path to your wsgi.py file (which in this case is /davidproject/davidproject/wsgi.py), while your working directory would be our project directory (/davidproject/). Next, input your environment variables in the Environment variables tab.
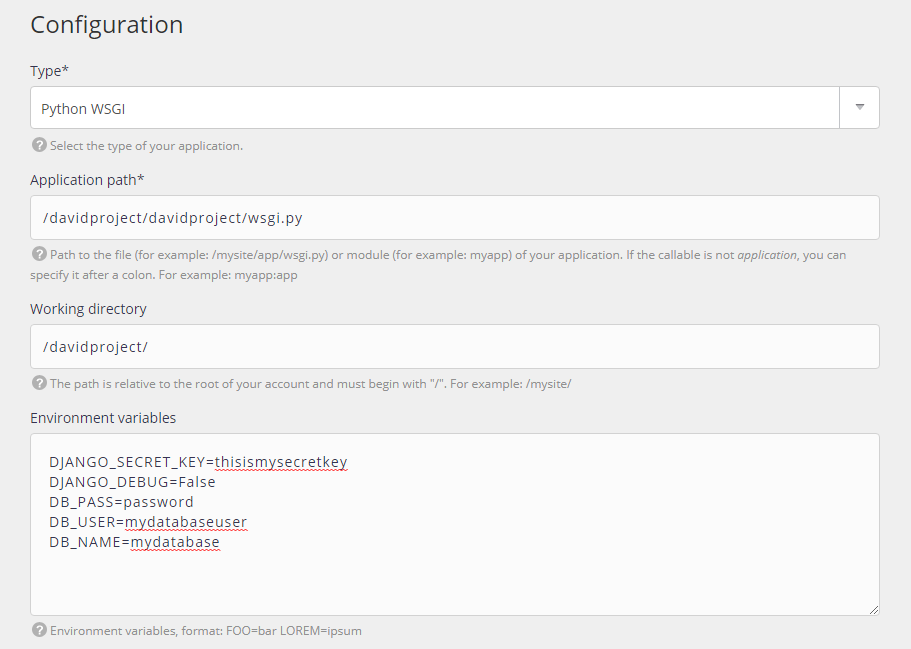
For our python version, we would use the latest python version (as at the making of this tutorial). Recall that we named our virtual environment davidenv, therefore our virtualenv directory would be /davidenv/

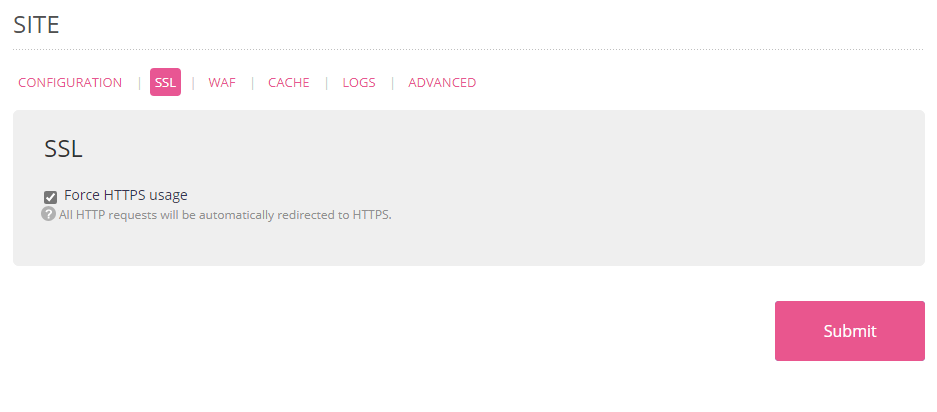
Next, scroll back to the top and select SSL, then check Force HTTPS usage before clicking on the Submit button.
At this point, most of the needed settings have been made, therefore you could make changes to our project, make migrations and migrate our models, etc. Every time you make changes to your project, you are to click on the Restart icon on the site bar.

Voila, it is time to visit your deployed site at [accountname].alwaysdata.net. If you run into any problem, you could always check the logs via the Logs icon on the site bar to view what the error is.

Happy deploying :).


